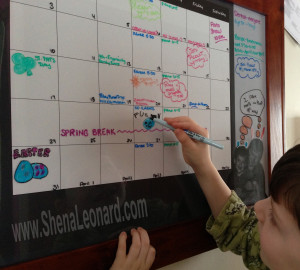
A couple of years ago I was looking all over for a large Wall Calendar that would look nice hanging in my front hallway. I finally found and ordered one from Pottery Barn. I was SO excited for it to arrive, but when it did I was extremely disappointed. Even the expensive Pottery Barn Calendar, the one that looked SO GREAT in the catalog, looked cheap when it arrived… Seriously there were no Calendars that I liked out there.
But, that’s OK – I’m so cool I made my own! (=
The more I thought about it, the more I realized it would be a pretty easy project – and I’d get something that I really LIKED for cheaper than the prices I’d seen on Calendars I didn’t even like.
Here’s how I did it:
- I got a frame at Michael’s (because glass works as a dry erase surface). And, as happens quite frequently at Michaels, the frames were all on sale – so I was able to get a frame I really liked for $20.
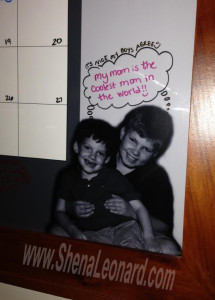
- I designed a cool poster with the boys’ photo, calendar squares, and a spot for notes on it. Then I printed the poster-sized photo at Sam’s Club for only $9. If you aren’t a Sam’s Club member I’m sure you can print large poster-sized photos at other places too. Shutterfly offers Large Format Prints for around $25.
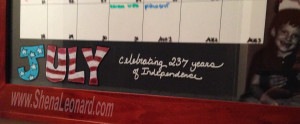
Some Design Notes: When designing the poster to print I made sure to create it for the Frame Size, then I trimmed the print to fit the frame. I left the calendar boxes blank so I could change the numbers on the glass surface every month and not have to print new posters. I left a large area to write notes/reminders (doctor appointments, etc.) so they would be there when I made the new monthly calendars.
I LOVE the Calendar, and I’ve been using it for a couple of years now. After the first couple of months I realized that wet erase markers work better than dry erase markers. Not only do wet erase markers show up better on the glass, but they also don’t smear when you add new events to your calendar throughout the month.
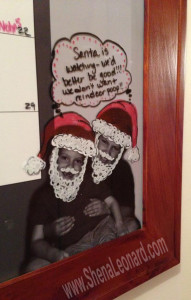
One of my favorite things about the calendar is putting thoughts into my kids’ heads. He he (=
 At my "for pay" job I'm a Marketing Manager in the Yearbook industry - it's pretty fun as far as jobs go. But, what I REALLY like to do is spend time with my adorable boys - cooking, painting, creating, and making a mess. We thought it would be fun to share some of our favorite things on this blog. We hope you enjoy reading about our exploits, and maybe even take the time to try a few of them yourself. (=
