I love boxes of brand new crayons – all those perfect points lined up neatly in a box, just waiting to create a masterpiece…. They make me smile! (=
And then… I use those lovely crayons and the points wear down, some even break off, and my crayons don’t inspire me as much as they used to. I know it sounds childish – but, that’s the way I feel about crayons. Admit it, some of you feel the same way – right???
My boys love brand new crayons too – so during the back to school shopping season we stock up on 25 cent boxes of crayons. Then I break them out any time they want new crayons – for the low price of a quarter I can make any day a happy new crayon day! (=
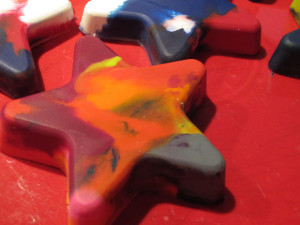
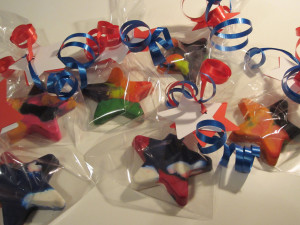
So, what do we do with all of those old crayons – and sometimes new 25 cent/box crayons if we don’t have enough old ones? We make them into funky-cool-multicolored crayons. We give them a new lease on life and a second chance to inspire a masterpiece. Because in the world of crayons, the only thing more inspiring then brand new pointy crayons is a funky-cool-multicolored crayon. (Remember those special multicolor crayons the Kindergarten teacher used to get out on special occasions???)
Making funky-cool crayons with your kids is super easy – we’ve been doing it for years and we’ll share some tips below.
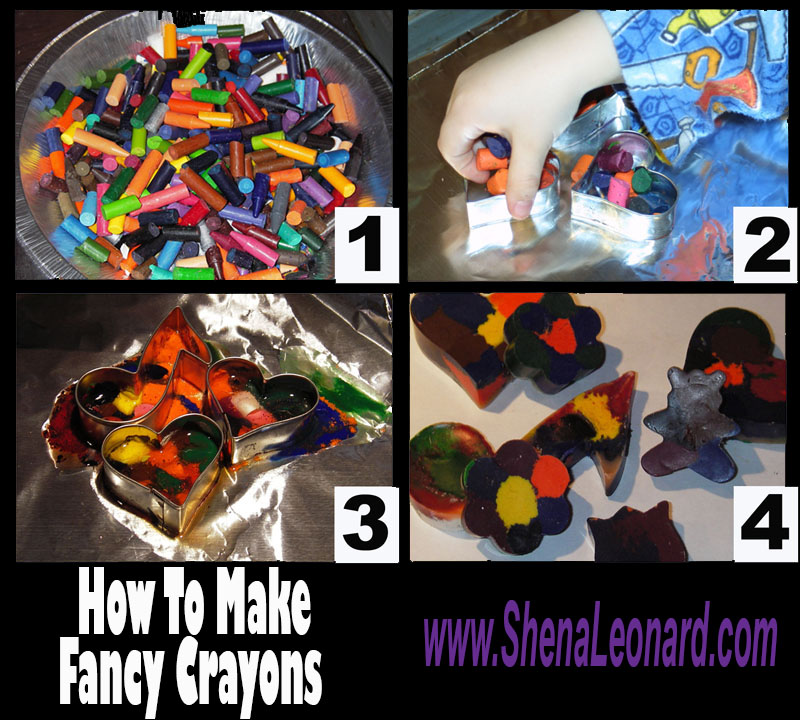
When we first started, years and years ago, we used metal cookie cutters as molds for our crayons. Cookie cutter pros – there are tons of designs you can make. Cookie Cutter cons – some of your melted crayons will always leak out the bottom of the mold.
To get started you will need:
- crayons
- metal cookie cutters (unpainted seem to work best)
- cookie sheet with sides
- aluminum foil
- oven pre-heated to 250 degrees
- Collect all of your broken (or new) crayons, unwrap them and break them into pieces.
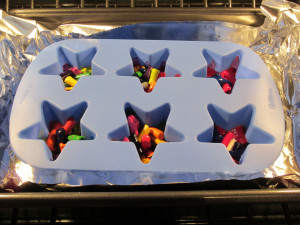
- Line your cookie sheet with a couple layers of aluminum foil. Then arrange your cookie cutters on the aluminum foil and fill them with assorted crayon pieces.
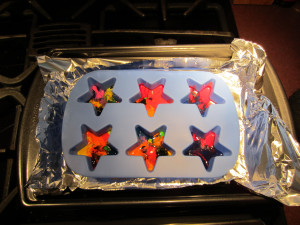
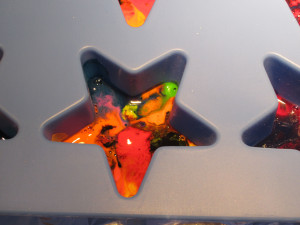
- Place the cookie sheet into your oven that has been preheated to 250 degrees. Check after 5 minutes, and then every few minutes, until the crayons are melted. Remove the crayons from the oven and allow to cool for half an hour to an hour. Do not mix or stir the melted crayons.
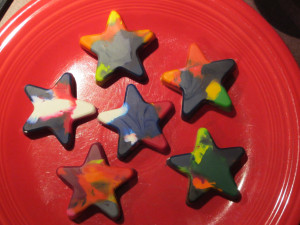
- Carefully push crayons out of the cookie cutters and use them to draw fun multi-colored masterpieces.
You can also do crayons using silicone muffin pans. Silicone muffin pan pros – they work wonderfully well for crayons, and when you use them you don’t have any “crayon loss.” Silicone pan cons – there aren’t as many designs to choose from as there are with cookie cutters. But they are great for making a ton of one design – such as the heart crayons we made for Valentine’s Day.
Important Pointers:
- Always use a pan with sides, and always line it well with aluminum foil. It’s nearly impossible to clean melted crayons off of a pan – and I don’t even want to think of what it would do to an oven….
- I would hope it goes without saying, but to be safe I’ll say it, once you use cookie cutters or muffin pans for making crayons you really should not use them for baking food again. As I mentioned above, it is nearly impossible to get all the crayon residue off dishes and I don’t think it’s a good idea to eat crayons… (=
- We get our Silicone pans at Michaels – and since I signed up for their email list I get a 40% off coupon almost every week in my email so we get them for pretty cheap. (=
- When doing cookie cutter crayons we highly recommend using only Crayola crayons. They seem to run less than the other brands so you will have less leakage out of the mold.
- When doing crayons in the silicone muffin pans you can use any kind of crayons since they cannot leak out. However, some brands will leave a layer of clear wax on the top (the side that is up when cooking – it actually ends up being the back of the crayon) of your crayon as it hardens. You can’t actually color with this clear wax, so after the crayons are cool carefully shave the clear wax off and then run the crayon over a sheet of paper to smooth the edges.
- Let the crayons cool completely before trying to remove them from the molds.
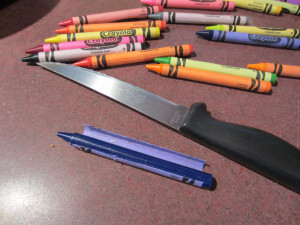
- Peeling the wrappers off of crayons can actually be quite a pain sometimes. If you are very, very careful it makes it easier if you cut the wrapper along the length of the crayon and then peel the whole wrapper off. If you can manage not to slip and cut yourself this is the way to go. (=
- Lastly, if you are thinking that those cute silicone-like ice cube trays would make great crayon molds that are just the right size… think again!! I tested the theory and they do NOT work – in fact the ice cube tray melts….
 At my "for pay" job I'm a Marketing Manager in the Yearbook industry - it's pretty fun as far as jobs go. But, what I REALLY like to do is spend time with my adorable boys - cooking, painting, creating, and making a mess. We thought it would be fun to share some of our favorite things on this blog. We hope you enjoy reading about our exploits, and maybe even take the time to try a few of them yourself. (=
