For the past 8 years I have been creating the PERFECT end-of-the-year Teacher Gift with my kids’ classes.
I know, I know… nothing is perfect you say…. But, this present is pretty close! The teachers really love it! And why wouldn’t they? It’s adorable, it takes up very little room on a book shelf, and it’s a time capsule full of sweet messages and pictures from the kids they spent the past year with. There are always at least a few references by the kids to how their teacher is the BEST Teacher Ever – and reasons to support those statements.
This gift provides teachers with a lasting memento that they can pull out when they’re having a particularly crappy day (I hear those happen every now and then in teaching) to give them a much needed reminder that most of the time kids think their teacher is amazing! (=
What is this PERFECT TEACHER GIFT you ask…
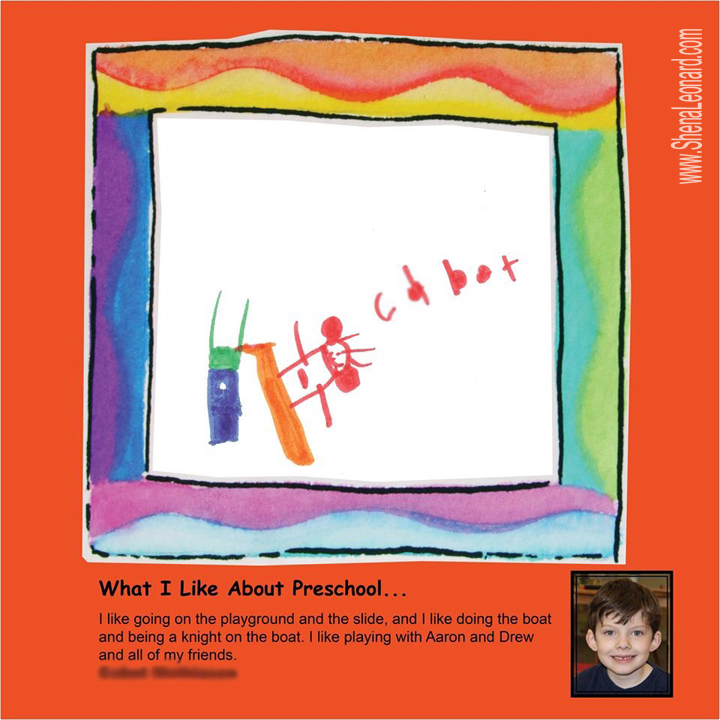
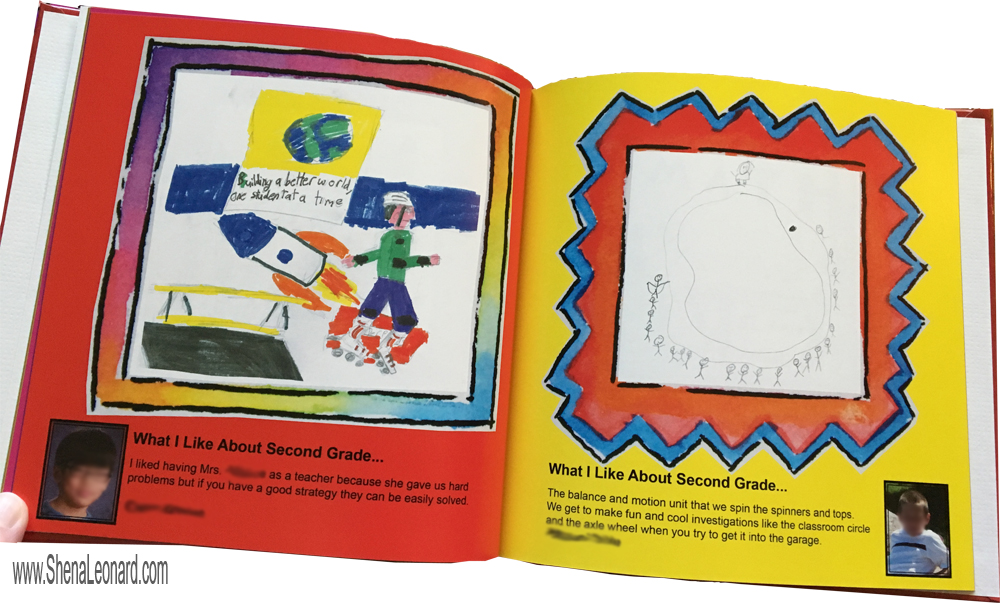
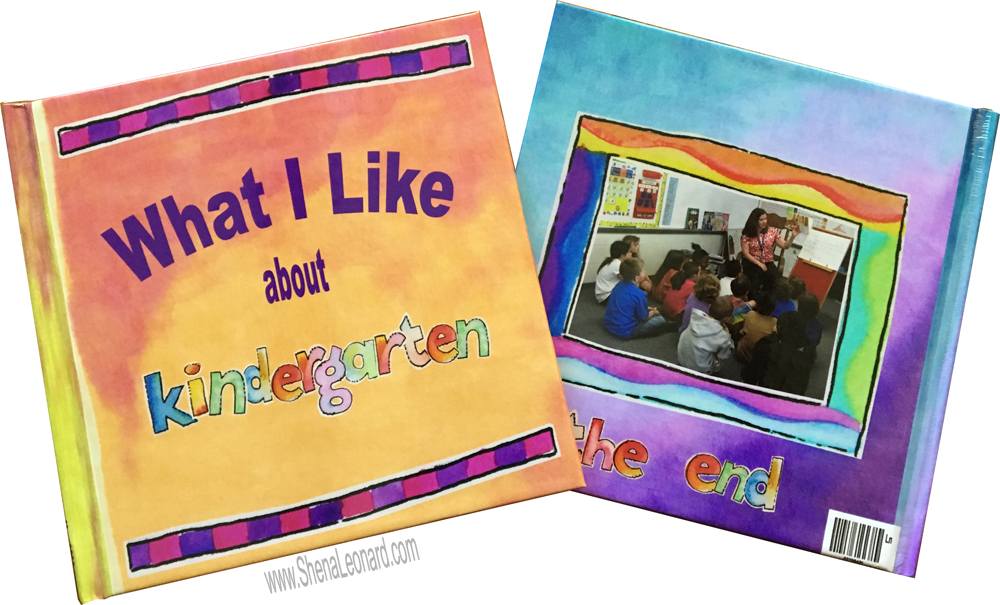
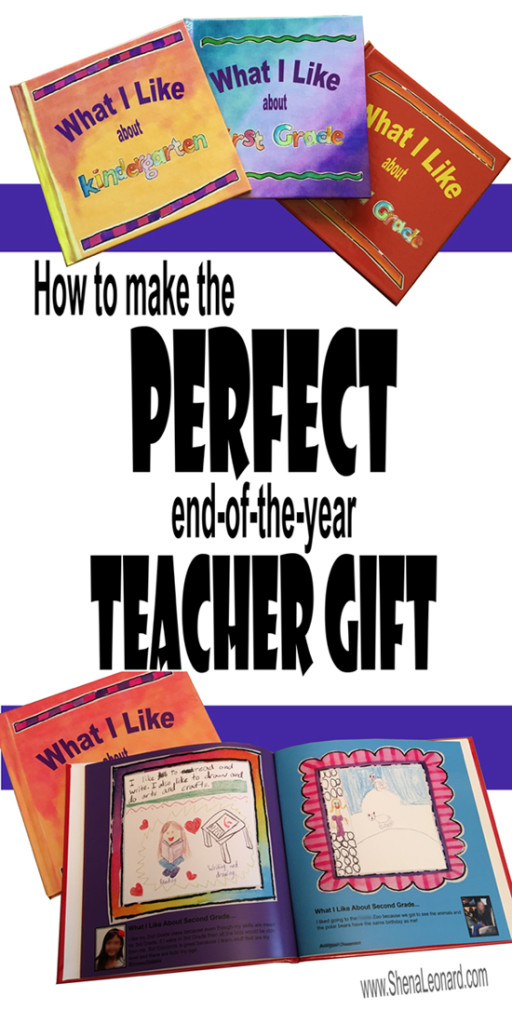
It’s a book. But, not just any book. Each year I help the kids put together a book highlighting what they like best about school. They are creatively titled. “What I Like About First Grade…,” “What I Like About Second Grade…,” and so on…
I know the titles aren’t amazingly creative, but the pages inside the books sure are! (=
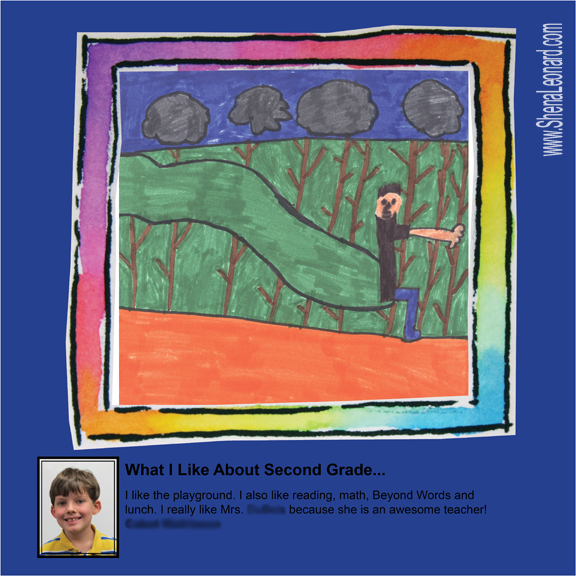
Check out some sample pages. (I have purposefully blurred out some names and faces for privacy reasons, obviously the real books look clearer.)
How do I Make one of these fabulous, fun Teacher Gifts you ask…
I won’t lie, it’s a bit time consuming, but if you’re organized about it it’s really not that bad. In fact, it’s actually quite fun to see what the kiddos come up with. (=
I will walk you through the Basic Steps I follow. If you have any questions, please send me an email or leave me a comment and I will get back to you.
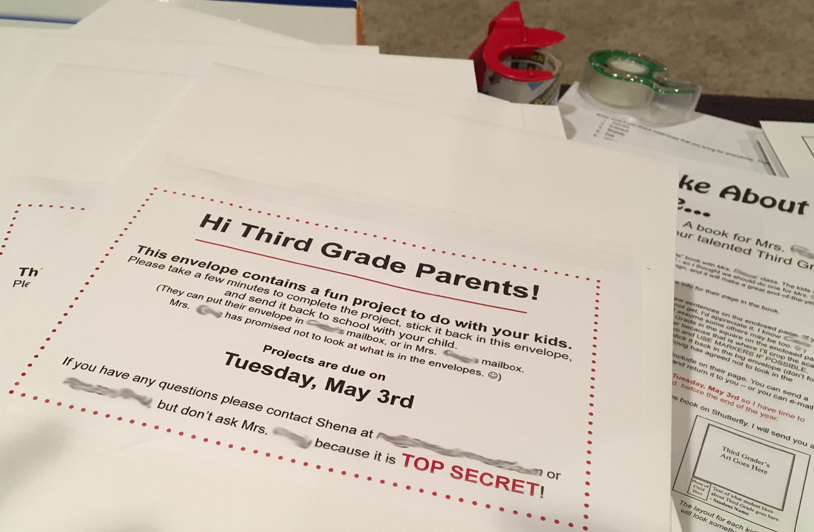
- To get started, ask the teacher’s permission to send home some Top Secret project envelopes with each of the students. I’m sure sometimes the teachers peek in the envelope to see that we aren’t sending home inappropriate stuff, but after the first year you can just have them ask the teacher from the previous year to verify with them that it’s all good. Even if they do peek at this stage in the game all they will see is the blank templates and a letter about the project – they will still have no idea HOW COOL the end book will be. (=
- Once you have permission, put together the Top Secret Envelopes to send home with each kid. Use 9×12 envelopes so no artwork will need to be folded. Print out Top Secret labels with instructions, who to contact with questions, and DUE DATE to tape to the outside of every envelope. (this is a very bad quality pic, but you get the idea.)
- Inside the envelopes include a letter explaining the project to the kids/parents and a Page Design Template. I HIGHLY recommend printing the Page Design Templates on white cardstock so they will hold up to heavy marker and will not get destroyed in the backpacks. Here is a PDF of the Page to Design Template that I created – I made it editable so you can change the Grade and Due Date. The Letter just explains the project, tells the kids to use marker (because it scans and reproduces well) and reminds the parents to either send a student pic with the page for me to scan, or to email me a pic to use.
- Put a NAME on the outside of each Top Secret envelope. Trust me…. You want them labelled. They all look the same, and someone is bound to leave theirs at school. It also makes tracking whose you have back easier.
- Send the envelopes home and wait for them to come back. Send a reminder to the parents a couple days ahead of the due date.
- No matter what you do, there will be a few kids who lose their envelope on the bus, in a bathroom, under the teeter-totter….??? Seriously, they will just disappear – kind of like the socks you put into the dryer that never come out…. They’re all floating together in some magical dimension somewhere. (= SO, make plans with the teacher to go in for half an hour the day after they are due to have the kids who are missing pages do them with you. Take them to the media center or something though so the teacher doesn’t see what you are working on! (= Don’t forget to take their pictures for their page when you are there too!
- Once you have all of the student designs and pics back you just put the pages together and upload to a site to print the book! You can use whatever software and printing site you prefer for this step.
Here’s a high level overview of how I do my books:
- Scan all of the kids’ art and crop/save it. Then I use Adobe InDesign to create the book pages. I place different colored backgrounds on the pages and put funky frames around the art in InDesign. Then I add the student’s photo and name, and type in what they wrote they liked best. I put a colored background on the pages and a funky frame around the art because then even if a kid doesn’t spend much time on their individual piece of art, their page still looks fun and colorful.
- After I finish designing each page I export it as a JPG file and upload it to Shutterfly.
- I place full page photos (with a bleed) templates on the Shutterfly book pages, then I place the JPGs on the pages and create the book!
I use Adobe InDesign because I’m very comfortable with the software from the many, many years I’ve spent in the Yearbook industry. You should use whatever YOU are comfortable with!! In fact, you may even be able to create the page layout templates on Shutterfly (or other printing site) and just place scans and enter text on their site. I’m not sure though, because I’ve always done mine in InDesign.
If you have InDesign and want to use it to create your pages, I can send you my template to use. I’m not going to post it though — for two reasons: 1)It won’t be very useful to people who don’t use InDesign. 2)I don’t know how to post the usable InDesign template to the blog… (that’s the real reason, of course) (=
Once the books arrives I always like to arrange a time that I can go in (with the book, a gift bag ready to go, and a bunch of markers all hidden in a bigger bag) and the teacher can conveniently “need” to leave to grab something out of the office for about 10 minutes. While the teacher is gone I have each kid grab their favorite colored marker and sign their name on the endsheets.
Once the teacher comes back the students can present their present to him/her. The kids are usually REALLY EXCITED about this – and they always ask the teacher to read the book to them right then. So, you really need to ask the teacher for a half hour chunk of time, the first part of which he/she will leave the room.
It is always SO FUN to see the end book!!
I always order an extra copy for my kiddos to have on their own bookshelf – and send a link to other parents to order a copy for themselves too if they want.
I really do think this is the BEST TEACHER PRESENT out there for preschool and elementary teachers!
If you have any questions, or want more details on how to implement the project, please let me know! (=
Here’s another great CREATIVE project the you can have each student Personalize.
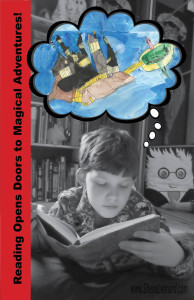
Each kid creates a Custom Reading Poster — this project is always a hit with the kiddos! (=
 At my "for pay" job I'm a Marketing Manager in the Yearbook industry - it's pretty fun as far as jobs go. But, what I REALLY like to do is spend time with my adorable boys - cooking, painting, creating, and making a mess. We thought it would be fun to share some of our favorite things on this blog. We hope you enjoy reading about our exploits, and maybe even take the time to try a few of them yourself. (=